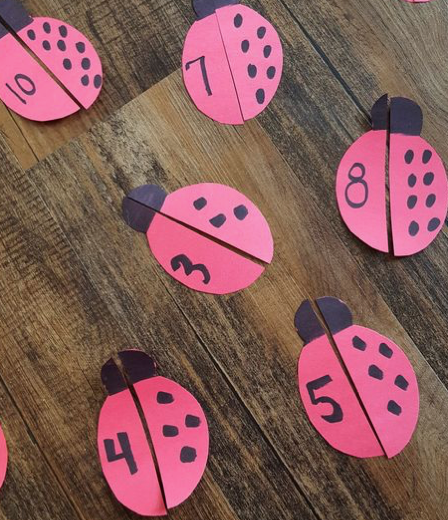
*** Can you make your own bug? ***
Date: 5/15/20
What is our theme?:
Insects
What is the lesson (overall Purpose):
Use fine motor skills to cut paper, and identify shapes to create a flower with snippet shapes!
MA Guidelines/Standards:
PK.G.2. Identify various two-dimensional shapes using appropriate language.
Learning Outcomes:
The Massachusetts pre-k standards apply to children who are at the end of the preschool age group, meaning older four- and younger five-year olds. In preschool or pre-kindergarten, activity time should focus on two critical areas:
(1) developing an understanding of whole numbers to 10, including concepts of one-to-one correspondence, counting, cardinality (the number of items in a set), and comparison; and
(2) recognizing two-dimensional shapes, describing spatial relationships, and sorting and classifying objects by one or more attributes. Relatively more learning time should be devoted to developing children’s sense of number as quantity than to other mathematics topics. pg. 84
Songs,Books,Video(Motivational Techniques)
https://www.youtube.com/watch?v=4g2fKY_mwYI - Book
https://www.youtube.com/watch?v=qFZMoBbyu8M - Book
https://www.youtube.com/watch?v=H6HKKXuzOlk - Book
Materials
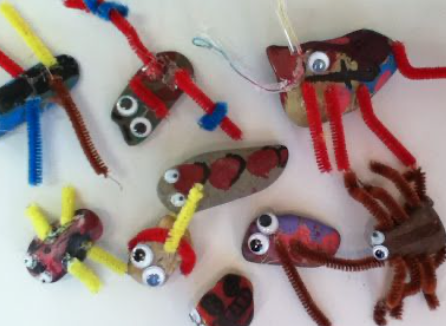
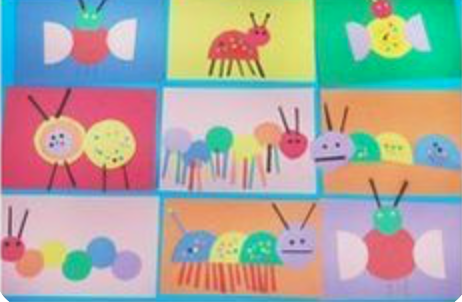
Paper Bugs
Rock Bugs
Activity(Procedure)
Paper Bugs
Rock Bugs
Activity(wrap up)
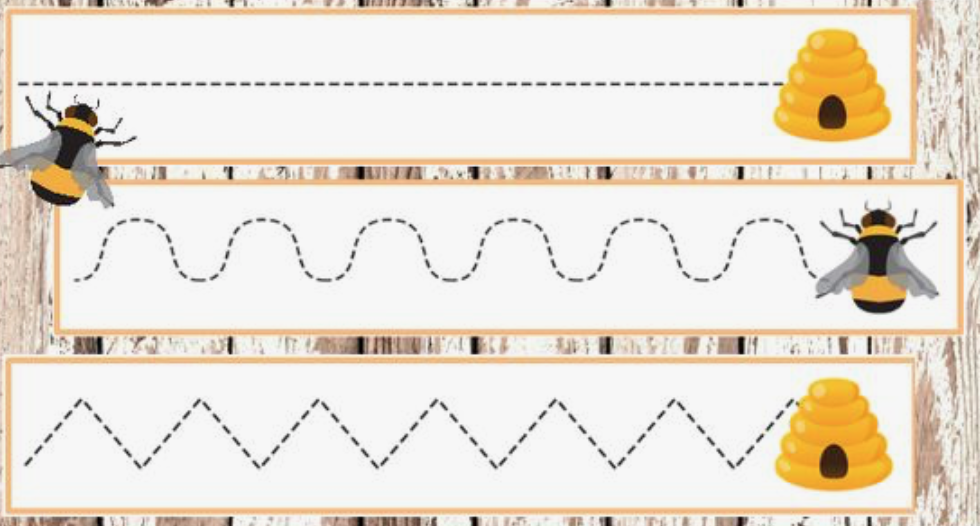
To wrap up this activity, they children can play a shape game and ask you what shape that is, and they will tell you if it is correct or not! A bug shape guessing game.
How do I know what my child is learning?(Assessment)
How can you extend the activity (modifications)
See Materials and Activity above.
Helpful Hints (pitfalls and solutions)
See Materials and Activity above.
Date: 5/15/20
What is our theme?:
Insects
What is the lesson (overall Purpose):
Use fine motor skills to cut paper, and identify shapes to create a flower with snippet shapes!
MA Guidelines/Standards:
PK.G.2. Identify various two-dimensional shapes using appropriate language.
Learning Outcomes:
The Massachusetts pre-k standards apply to children who are at the end of the preschool age group, meaning older four- and younger five-year olds. In preschool or pre-kindergarten, activity time should focus on two critical areas:
(1) developing an understanding of whole numbers to 10, including concepts of one-to-one correspondence, counting, cardinality (the number of items in a set), and comparison; and
(2) recognizing two-dimensional shapes, describing spatial relationships, and sorting and classifying objects by one or more attributes. Relatively more learning time should be devoted to developing children’s sense of number as quantity than to other mathematics topics. pg. 84
Songs,Books,Video(Motivational Techniques)
https://www.youtube.com/watch?v=4g2fKY_mwYI - Book
https://www.youtube.com/watch?v=qFZMoBbyu8M - Book
https://www.youtube.com/watch?v=H6HKKXuzOlk - Book
Materials
Paper Bugs
- Scissors
- Paper
- Glue and/or tape
- Coloring tools
Rock Bugs
- Small/medium size rocks
- Pipe cleaners and/or sticks
- Leaves or outdoor materials, grass, flowers, etc.
- Paint
- Glue
- Googly eyes and/or marker
- Coloring tools
Activity(Procedure)
Paper Bugs
- Gather all materials
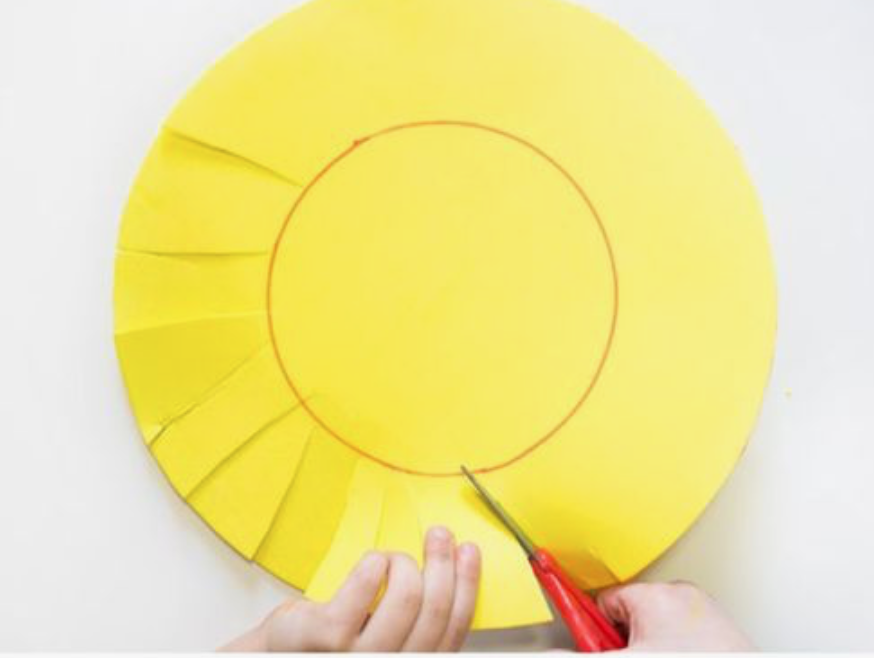
- With adult supervision use the scissors to cut out shapes! (The shapes can be a random assortment, triangles, circles, ovals, rectangles, etc.)
- Using the glue or tape, place your shape pieces on a larger piece of paper to create your very own bug!
Rock Bugs
- Gather materials
- paint and/color patterns on bugs, stripes, circles, etc.
- Glue wings and/or legs on
- Glue googly eyes, or draw eyes
- Sit and let dry!
Activity(wrap up)
To wrap up this activity, they children can play a shape game and ask you what shape that is, and they will tell you if it is correct or not! A bug shape guessing game.
How do I know what my child is learning?(Assessment)
- find examples of basic shapes in the environment (e.g., go on a “shape walk” indoors or outdoors to find examples of circles, squares, triangles, rectangles in buildings, in the classroom, in nature, etc.).
- identify basic shapes in pictures, magazines, or picture books (e.g., I Spy books).
- feel and name parquetry blocks or pattern blocks, then try to identify them without looking – by naming or pointing to a block that matches.
- play shape challenge games such as placing basic shapes on the floor and prompting children’s movement (e.g., “Stand in the square”).
How can you extend the activity (modifications)
See Materials and Activity above.
Helpful Hints (pitfalls and solutions)
See Materials and Activity above.
 RSS Feed
