WELCOME THE LAUREL SCHOOL TODDLER, PRESCHOOL & PRE-KINDERGARTEN VIRTUAL CLASSROOMS
  • Welcome
  • Toddler
    • Ms. Naomi & Ms. Haley
    • Ms. Margo & Ms. Tonia
  • Preschool
    • Ms. Rachel
    • Ms. Julia
    • Ms. Taisha
    • Ms. Amanda
    • You Tube Stories & Songs
  • Pre-Kindergarten
    • Ms. Lynn
    • Ms. Nancy
  • Ms. Sunny's Corner
  • Student & Family Shares!
  • Contact

Ms. amanda's home learning resources

​

Stain Glass Rocks

5/15/2020

0 Comments

 
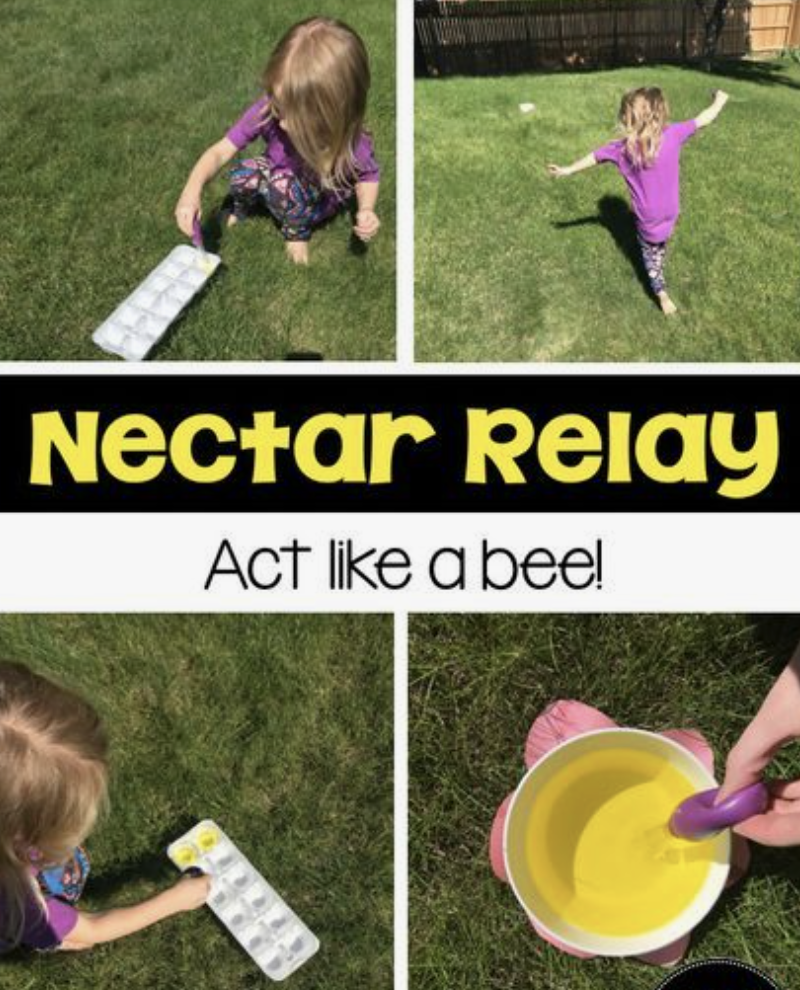
After learning about pollinators all week it's time to do something fun for our gardens!
Our Lessons For the Week!

Date: 5/15/20

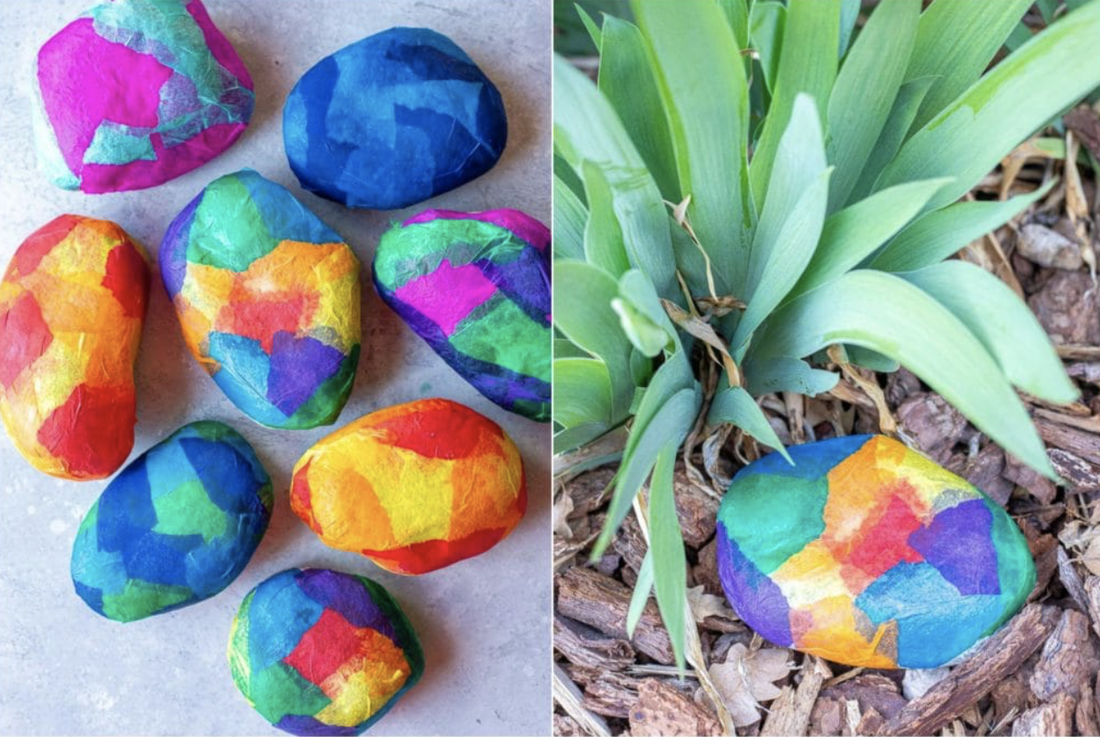
What is our theme? Stain Glass Rocks

What is the lesson (overall purpose)? 
To promote the use of fine motor skills. 


MA Guidelines/Standards:
APL4: The child will demonstrate creativity in thinking and use of materials.
APL 1: The child will demonstrate initiative, self-direction, and independence.


Learning Outcomes:

All projects that promote fine motor skills are also pre writing skills as well. Cutting with scissors or tearing paper with your hands are all pre writing skills.

Songs, Books & Videos (Motivational Techniques)
https://youtu.be/Q7l1lb3ZqRs - If You Find a Rock read aloud.


Materials:
  • Rocks, smooth ones are best but you can use any size or shape
  • Tissue paper
  • Elmers glue
  • Water
  • Waterproof sealer such as polyurethane
  • Paint brush

Activity (Procedure):
  1. Wash your rock with water and let dry. To a small cup or bowl, add about 1/3 cup of water and 2 tablespoons elmers glue and mix until combined.
  2. Tear your tissue paper into small pieces. Use a paintbrush to cover the rock with the glue mixture and start laying down your pieces of tissue paper. You will probably have to reapply the glue a few times. I also like to do one coat of glue on top of the tissue paper after you've finished.
  3. Let the rocks dry completely and then apply a few coats of waterproof sealer. Let dry and then place them in your yard or garden!

Activity Wrap Up:
When the rocks are dry place them in your garden or display them somewhere special to you.

How do I know what my child is learning? (Assessment)
Talk to your child about what they did first, second and so on. Help them to get familiar with these words and their meanings. Talk about the colors your child is choosing for their rocks.


How can you extend this activity? (Modifications)
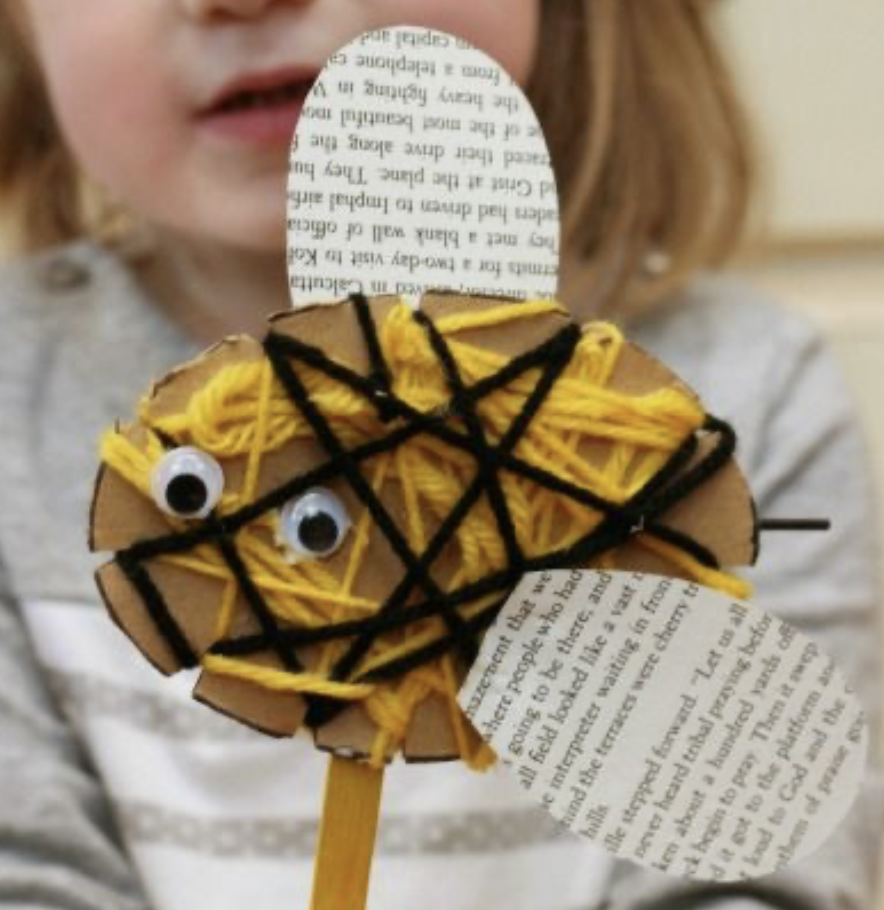
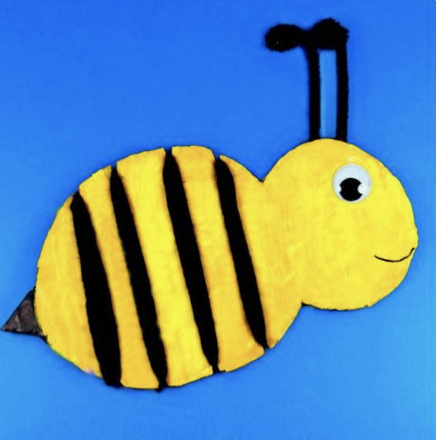
You can use black and yellow to make the rocks look like bees!


​
Picture
0 Comments

Yarn Wrapped Bumble Bee

5/14/2020

0 Comments

 
Learning about bumble bees is fun! Creating your own is even more fun!!
Our Lessons For the Week!

Date: 5/14/20

What is our theme? Yarn Wrapped Bumble Bee

What is the lesson (overall purpose)?  
  • provide multiple opportunities and materials for children to strengthen fine motor skills.

MA Guidelines/Standards:
APL 2: The child will demonstrate eagerness and curiosity as a learner.
APL4: The child will demonstrate creativity in thinking and use of materials.

Learning Outcomes:
To strengthen fine motor skills and to have a better understanding of what bees do.


Songs, Books & Videos (Motivational Techniques)
https://youtu.be/ta154f5Rp5Y - Busy Bee video facts about bees
https://youtu.be/kePv4tviABo - Are You a Bee read aloud

Materials:
Cardboard
Acrylic Paint
Yarn
Googly Eyes
Pipe Cleaners
Tacky Glue
Markers

Activity (Procedure):
Draw & cut a bee shape out of cardboard. Don’t forget the stinger.
Paint the body of the cardboard yellow & the stinger black. Let dry. Make thin triangular snips into the cardboard on both the top & bottom of the body.
Glue a googly eye & 2 pipe cleaners for the antennae. Draw in a little smile.
Cut long strands of yarn & wrap the strands around the bee’s body at the notches.

Activity Wrap Up:
Make your bee fly around! Can you make the sound the bee makes?

How do I know what my child is learning? (Assessment)
This project is helping to strengthen your child's fine motor skills. Watch to see how they use the paintbrush and wrap the yarn.

How can you extend this activity? (Modifications)
You can use any kind of paint you have and draw eyes on if you do not have googly eyes.


​
Picture
Picture
0 Comments

Hummingbird Feeder

5/13/2020

0 Comments

 
Do you know who else helps in pollination? Hummingbirds!!
Our Lessons For the Week!

Date: 5/13/20

What is our theme? Hummingbird Feeder

What is the lesson (overall purpose)?  
  • observe (live or through video or webcam) how animals and plants interact in their environments to survive (e.g., bees pollinate flowers while they gather nectar to make honey; birds eat seeds for food and also distribute seeds that result in new plants).

MA Guidelines/Standards:

K-LS1-2 (MA) Recognize that all plants and animals grow and change over time.
PK-LS2-3 (MA). Give examples from the local environment of how animals and plants are dependent on one another to meet their basic needs.

Learning Outcomes:
Observe animals (or pictures or videos of animals) and discuss ways they grow and change.
Model a sense of wonder about the world (e.g., "I wonder...?" "How could that work?" “What do you think about...?").


Songs, Books & Videos (Motivational Techniques)

https://youtu.be/EkAhYmXWuFU - Facts about Hummingbirds

Materials:
  •   Water bottle
  •    Straws
  •   Scissors
  •   Hot Glue Gun
  •   Red and Yellow foam
  •   Bakers twine

Activity (Procedure):
Trace and cut flowers out of the foam.
Poke holes into the water bottle. Cut straws and glue with a hot glue gun on the holes.
Glue flowers over the straws.
Tie bakers twine around the bottle to hang with.
Make hummingbird nectar by adding 1/2 c. sugar to 2 cups of water and bring to a boil. Let cool and then pour into the feeder. 

Activity Wrap Up:
Tie feeder in a tree and watch as hummingbirds gather around.


How do I know what my child is learning? (Assessment)
  • ask “what” and “how” and “why” questions to gain information about familiar and unfamiliar events and phenomena.

How can you extend this activity? (Modifications)
You can look into making other bird feeders as well.


​
0 Comments

Nectar Relay

5/12/2020

0 Comments

 
Sometimes we just have to move our bodies right! Well with this project you will need lots of space to move around!

Our Lessons For the Week!

Date: 5/12/20

What is our theme? Nectar Relay

What is the lesson (overall purpose)?  To strengthen fine motor and gross motor skills and to see how a bee collects the nectar to bring back to the hive and to pollinate flowers.

MA Guidelines/Standards:
SEL3: The child will demonstrate self-efficacy (confidence/competence).
APL 1: The child will demonstrate initiative, self-direction, and independence.

Learning Outcomes:
  • try a wide range of new experiences (e.g., materials, tasks, academic or physical skills), both independently and with peers or adults.


Songs, Books & Videos (Motivational Techniques)

https://youtu.be/bWUgZm_AE64 - Bee Song
https://youtu.be/txv2k7OoY7U - Video about how pollination occurs.


Materials:
A sand pail or bucket
Plastic egg carton or ice cube tray
Dropper (medicine dropper/eye dropper)
Yellow food coloring


Activity (Procedure):
Fill a bucket with water.
Add a few drops of yellow food coloring
Place the bucket on one side of the yard and egg carton or ice cube tray on the other side of the yard. (They will be running back and forth so it's up to you on how far apart you want to make the bucket and ice tray).
Have your child pretend to be a buzzing bee and buzz over to the bucket with their dropper to collect the nectar then run to the ice tray and drop the nectar in with your dropper.
Repeat this until all the “honeycombs” (ice tray) is full or till they want to stop.


Activity Wrap Up:
Count how many “honeycombs” you put nectar in!


How do I know what my child is learning? (Assessment)
Have them count with you and see how they hold the dropper. This skill will help them with holding their writing because it strengthens their pincer grasp skills.


How can you extend this activity? (Modifications)

You can also put cups or bowls around your yard and your child can pretend they are going from flower to flower like a bee and pollinating them.


Helpful Hints: (Pitfalls & Solutions)
If your child is having a hard time with the dropper try having them use a very small cup and see if they can run without spilling any!

​
Picture
0 Comments

Honeycomb

5/11/2020

0 Comments

 
Well if we are going to learn about bees we of course need to make honeycombs!
Our Lessons For the Week!

What is our theme? Honeycomb

What is the lesson (overall purpose)? 
Provide many opportunities for children to see/hear the names of numerals in meaningful contexts.
Provide many opportunities for children to use one-to-one correspondence in daily routines  

MA Guidelines/Standards:
W.PK.2. Use a combination of dictating and drawing to supply information about a topic.
PK.CC.1. Listen to and say the names of numbers in meaningful contexts. 
APL 2: The child will demonstrate eagerness and curiosity as a learner.
APL4: The child will demonstrate creativity in thinking and use of materials.


Learning Outcomes:
  • model flexibility by demonstrating that with new information, you can change your mind or adjust your plans and that there may be more than one way to do things.


Songs, Books & Videos (Motivational Techniques)
https://youtu.be/cDlHHCGbMc4 - Video about how bees make honey.


Materials:
  • Paper towel roll
  • Yellow paper
  • Black maker
  • Glue
  • Scissors
Activity (Procedure):
Cut the paper towel roll into 1/2 inch thick sections. Bend them in half, then bend them in half the other way to make a diamond shape. Arrange the honeycombs in a beehive shape on the yellow paper. When you’re satisfied with the design, glue them in place and let dry.

Activity Wrap Up:
Talk about the importance of preserving bees so that we still can have delicious honey to eat and other fruits and vegetables that bees are responsible for pollinating.


How do I know what my child is learning? (Assessment)
  • ask open-ended questions that create dialogue (e.g. “What do you think about…?” “Tell me more about it.” “How do you know that?”).
  • ask reflective questions as children are engaged in activities, such as “What happened when ___? What did you think would happen?”
  • help children connect their plans with implementation (e.g., “You planned to ___, how did it work out?”).


How can you extend this activity? (Modifications)
You can make more honeycombs and make them into letters or shapes.


​
Picture
0 Comments

Magic Pepper and Soap Experiment

5/8/2020

0 Comments

 
Learning about the importance of using soap when washing your hands!
Our Lessons For the Week!

What is our theme? Magic Pepper and Soap Experiment

What is the lesson (overall purpose)?  
To understand cause and effect in a hands on way.
Also a great way to talk about germs! Pretend the pepper is the germs.


MA Guidelines/Standards:
PreK-PS1-4 (MA). Recognize through investigation that physical objects and materials can change under different circumstances. 
Clarification statement: Changes include building up or breaking apart, mixing, dissolving, or changing state.


Learning Outcomes:
Kids can learn about buoyancy, or the concept of sink or float, by adding the pepper to the water. If they’ve already mastered these concepts then this is a great opportunity to introduce surface tension.
When the soap is added to the plate the surface tension changes and the pepper no longer floats on top. The molecules pull back from the soap and it is able to break down the surface tension of water. As the soap moves into the water, and the surface tension changes, the pepper no longer floats on top. The water molecules want to keep the surface tension intact so they pull away from the soap carrying the pepper flakes with them.
With younger kids a simpler explanation works too. When you touch the pepper water with dish soap the pepper moves to the side of the dish. This is a perfect illustration of cause and effect.

Songs, Books & Videos (Motivational Techniques)
*See attached picture*


Materials:
  • Pepper
  • Plate or bowl
  • Water (optional to color it blue)
  • Dish soap

Activity (Procedure):


Pour some water onto a plate or bowl. You want it to cover a fairly large part of the plate. Coloring your water blue with some food coloring is an optional step, but sometimes makes it easier to see the experiment in action.
Sprinkle some pepper onto the surface of the water.
Dip your finger into the dish soap.
Place your finger in the center of the plate into the water.
Watch as the pepper quickly scatters to the edges of the water on the plate.

Activity Wrap Up:
Discuss what you saw. Talk about how to keep germs away and how important it is to wash your hands with soap.

How do I know what my child is learning? (Assessment)
Ask reflective questions as children are engaged in activities, such as “What happened when ___? What did you think would happen?”
Talk about what happened to the pepper when the soap was added to the water.

How can you extend this activity? (Modifications)
Try adding something like oil to the water to see what happens.


Helpful Hints: (Pitfalls & Solutions)

If you don't want to use pepper you can also use glitter instead.

​
Picture
0 Comments

Science Fun: how to make a lava lamp!

5/7/2020

0 Comments

 
Science fun all week long!
Our Lessons For the Week!

What is our theme? Lava Lamp Science Project – How to Make a Lava Lamp


What is the lesson (overall purpose)?  
To learn about simple chemistry.
  • encourage children to research how objects change through investigation 


MA Guidelines/Standards:
PreK-PS1-4 (MA). Recognize through investigation that physical objects and materials can change under different circumstances. 
PreK-PS2-1 (MA). Using evidence, discuss ideas about what is making something move the way it does and how some movements can be controlled.


Learning Outcomes:
 Oil and Water don’t mix because they can not form any chemical bonds together.
Alka-Seltzer tablets contain sodium bicarbonate and citric acid so when you mix them with water, they react by producing bubbling carbon dioxide.


Songs, Books & Videos (Motivational Techniques)
https://youtu.be/wclY8F-UoTE - A short video about matter.


Materials:
2 Empty Water Bottles or Gatorade Bottles
Oil (vegetable or canola)
Antacid Tablets, like Alka-Seltzer
Food Coloring, 2 colors
Water


Activity (Procedure):
1. Fill each empty bottle about ¾ of the way full with oil.
2. Fill the rest the way with water until about 2 inches from the top.
3. Put in 4-5 drops of food coloring into each bottle.
4. Drop an antacid tablet into each bottle and watch all the bubbles start up and float all around like a lava lamp.
5. After the tablets were all dissolved, and the bubbles calmed down, I added another tablet to the bottles and repeated the lava effect.

Activity Wrap Up:
Talk about what you see.

How do I know what my child is learning? (Assessment)
Ask your child what they see. What colors did they choose? Do they notice that the oil and water do not mix together?

How can you extend this activity? (Modifications)
After the tablets are all dissolved you can continue the fun by adding another tablet.


​
0 Comments

Unicorn Fizz

5/6/2020

0 Comments

 
Learning about chemical reactions and having fun while doing it!
Our Lessons For the Week!

What is our theme? Unicorn Fizz

What is the lesson (overall purpose)?  
To strengthen fine motor skills in a fun scientific way. Also to learn about cause and effect and chemical reactions.

MA Guidelines/Standards:
PreK-PS1-4 (MA). Recognize through investigation that physical objects and materials can change under different circumstances. 
Clarification statement: Changes include building up or breaking apart, mixing, dissolving, or changing state.

Learning Outcomes:
Tripod grasp also known as “pincer grasp” is intentionally used to make the eye droppers function. They need to use the tripod grasp to gently pinch the dropper, release to suck up the fluid, hold the dropper without letting the fluid release, then squeeze it again to release it over the baking soda. Your child will repeat this motion dozens of times while they experiment, all the while strengthening those very important fine-motor skills.


Songs, Books & Videos (Motivational Techniques)
https://youtu.be/88hn62gD2c8 - Not Quite Narwhal by Jessie Sima a READ ALOUD

Materials:

  • plate, bowl, or foil trays
  • boxes of baking soda
  • glitter
  • plain white vinegar
  • paint cups
  • food coloring or liquid watercolor (we used purple, teal, blue and hot pink)
  • plastic pipettes or medicine droppers
  • art smocks

Activity (Procedure):         
Prepare ahead of time and pour the white vinegar into the small paint cups. Next, add a few drops of liquid watercolor or food color to each cup.  Add a pipette to each cup.  Finally, set out the trays, boxes of baking soda, and prepared cups.  Remember – liquid watercolor stains, so you will want to choose your location accordingly!

Invite your to come and sprinkle the baking powder and glitter into their tray.   Demonstrate how to use the pipette and show your child how to squeeze the liquid out.  Watch the excitement on their faces when they add the vinegar to the baking soda.

Activity Wrap Up:
Encourage the students to examine what happens when the different puddles mix and blend.  


How do I know what my child is learning? (Assessment)
Ask reflective questions as children are engaged in activities, such as “What happened when ___? What did you think would happen?”

How can you extend this activity? (Modifications)
You can talk about the science behind it.
The chemical reaction of the vinegar (an acid) combined with the baking soda (a base) releases carbon dioxide (which is the “fizz”).  While this might be a little advanced for preschool children it's still fun to explore and talk about.

​
0 Comments

Shadow Art

5/5/2020

0 Comments

 
It's always fun to take coloring and move it outside!

What is our theme? Shadow Art

What is the lesson (overall purpose)?  
To learn about shadows and light.
  • scaffold developing skills (help children complete challenging tasks, then gradually step back to let them manage independently).

MA Guidelines/Standards:
APL3: The child will be able to maintain focus and attention, and persist in efforts to complete a task.
APL4: The child will demonstrate creativity in thinking and use of materials.
PreK-ESS1-2 (MA). Observe and use evidence to describe that the sun is in different places in the sky during the day.
PreK-PS4-2 (MA). Connect daily experience and investigations to demonstrate the relationships between the size and shape of shadows, the objects creating the shadow, and the light source. 


Learning Outcomes:
  • Gradually lengthen the time children are expected to remain engaged and guide them toward deeper levels of engagement.


Songs, Books & Videos (Motivational Techniques)

https://youtu.be/lOIGOT88Aqc - Short video about shadows
https://youtu.be/PvPbFe46D1s - "Light: Shadows, Mirrors, and Reflections" by Natalie Rosinsky 


Materials:
sunshine
White paper
Small object that can stand up
Pencil
Coloring tools


Activity (Procedure):
Lay a piece of paper on a flat surface outside.
Position your small object on the paper so you can see the shadow of the object reflecting onto the paper.
Trace the shadow of the object.

Activity Wrap Up:
Decorate your shadow drawings and display for all to see!

How do I know what my child is learning? (Assessment)
  • help children connect their plans with implementation (e.g., “You planned to ___, how did it work out?”).


How can you extend this activity? (Modifications)
This can also be done with chalk on the pavement. Have your child stand so that their shadow is visible on the pavement and trace them. They can then decorate themselves or trace you as well.
  • using body movement, demonstrate recognition of how to make their shadow bigger or smaller.


Helpful Hints: (Pitfalls & Solutions)
Make sure this is done when the sun is just right so you have a good shadow to trace.

Picture
0 Comments

homemade projector!

5/4/2020

1 Comment

 
What better way to work on numbers, letters, shapes then projecting them on the wall with your own homemade projector!

What is our theme? Cardboard Roll Projector Word Shadow Show with Recyclables!


What is the lesson (overall purpose)? 
To learn about light and shadows. 
  • model a sense of wonder about the world (e.g., "I wonder...?" "How could that work?" “What do you think about...?").
  • help children to formulate questions and plan in-depth investigations on topics of their own interest. 

MA Guidelines/Standards:
APL 2: The child will demonstrate eagerness and curiosity as a learner.
PreK-PS4-2 (MA). Connect daily experience and investigations to demonstrate the relationships between the size and shape of shadows, the objects creating the shadow, and the light source. 

Learning Outcomes:
  • provide hands-on experiences that motivate children to apply skills and prior knowledge. 
  • Depending on what you choose to put on your projector. If you choose to do letters or numbers it's a great way to work on those skills.

Songs, Books & Videos (Motivational Techniques)
*See attached picture*
https://youtu.be/lOIGOT88Aqc - Short video about shadows


Materials:
  1. Cardboard paper towel tubes or toilet paper rolls 
  2. Hard, clear plastic from food packaging is the best option to minimize waste and encourage reuse. Written words can be easily erased with a damp towel!
    1. Another option that you can try is clear packing tape and the smooth side of the tape could be potentially wiped and reused.
  3. Whiteboard marker 
  4. iPhone or small rechargeable flashlight 
  5. Pen knife or scissors

Activity (Procedure):

1. If reusing plastic from a container, draw a circle by tracing the end of the toilet paper roll.

2. Cut out the piece of plastic.
3. Write or draw what you want to project onto the plastic.
4. If using hard plastic, cut slit and insert plastic on one end of the cardboard roll.
  • If using plastic wrap, make sure the word is inserted backwards. Wrap rubber band around plastic wrap and end of cardboard roll.
5. Turn off the lights for optimal viewability!
6. Shine a flashlight at the open end of the roll and point cardboard projector toward blank paper, wall, ceiling, etc.
Activity Wrap Up:

Experiment! Use different lengths of cardboard tube! Position the flashlight to see if you can make the drawings appear larger or smaller.


How do I know what my child is learning? (Assessment)
Ask reflective questions as children are engaged in activities, such as “What happened when ___? What did you think would happen?”


How can you extend this activity? (Modifications)
Try using different color markers to see how those colors show up.


Helpful Hints: (Pitfalls & Solutions)
Make sure the room you are in is dark enough and that the surface you are projecting onto is flat and one color.

​
1 Comment
<<Previous
Forward>>

    Author

    Ms. Amanda - Preschool 
    Assistant Preschool Director 

    Archives

    June 2020
    May 2020
    April 2020
    March 2020

    Categories

    All

    RSS Feed

Proudly powered by Weebly